If you also have multi php versions on your CentOS, and face following error :
Error: Package: php-tidy-5.3.3-50.el6_10.x86_64 (updates)
            Requires: php-common(x86-64) = 5.3.3-50.el6_10
            Installed: php-common-7.2.29-1.el6.remi.x86_64 (@remi-php72)
                php-common(x86-64) = 7.2.29-1.el6.remi
            Available: php-common-5.3.3-49.el6.x86_64 (base)
                php-common(x86-64) = 5.3.3-49.el6
            Available: php-common-5.3.3-50.el6_10.x86_64 (updates)
                php-common(x86-64) = 5.3.3-50.el6_10
 Error: Package: phpMyAdmin-4.0.10.20-1.el6.noarch (epel)
            Requires: php(language) < 7
            Installed: php-common-7.2.29-1.el6.remi.x86_64 (@remi-php72)
                php(language) = 7.2.29
            Available: php-common-5.3.3-49.el6.x86_64 (base)
                php(language) = 5.3.3
            Available: php-common-5.3.3-50.el6_10.x86_64 (updates)
                php(language) = 5.3.3
 Error: Package: php-bcmath-5.3.3-50.el6_10.x86_64 (updates)
            Requires: php-common(x86-64) = 5.3.3-50.el6_10
            Installed: php-common-7.2.29-1.el6.remi.x86_64 (@remi-php72)
                php-common(x86-64) = 7.2.29-1.el6.remi
            Available: php-common-5.3.3-49.el6.x86_64 (base)
                php-common(x86-64) = 5.3.3-49.el6
            Available: php-common-5.3.3-50.el6_10.x86_64 (updates)
                php-common(x86-64) = 5.3.3-50.el6_10
 Error: Package: phpMyAdmin-4.0.10.20-1.el6.noarch (epel)
            Requires: php-zip
            Available: php-common-5.3.3-49.el6.x86_64 (base)
                php-zip
            Available: php-common-5.3.3-50.el6_10.x86_64 (updates)
                php-zip
            Installed: php-common-7.2.29-1.el6.remi.x86_64 (@remi-php72)
                Not found
 Error: Package: php-process-5.3.3-50.el6_10.x86_64 (updates)
            Requires: php-common(x86-64) = 5.3.3-50.el6_10
            Installed: php-common-7.2.29-1.el6.remi.x86_64 (@remi-php72)
                php-common(x86-64) = 7.2.29-1.el6.remi
            Available: php-common-5.3.3-49.el6.x86_64 (base)
                php-common(x86-64) = 5.3.3-49.el6
            Available: php-common-5.3.3-50.el6_10.x86_64 (updates)
                php-common(x86-64) = 5.3.3-50.el6_10
  You could try using --skip-broken to work around the problem
  You could try running: rpm -Va --nofiles --nodigest
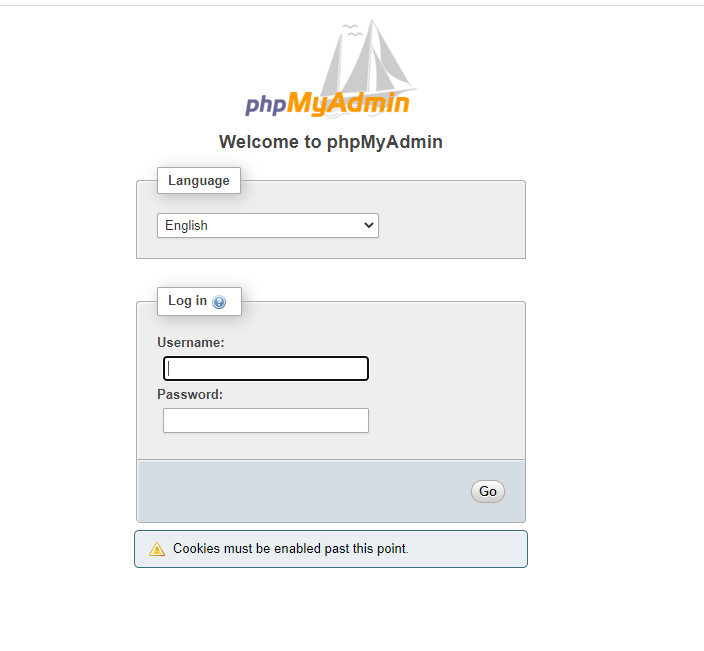
You can easily download and configure phpmyadmin directly without using yum:
first you should create a folder in your web server, in my case my web server is NGINX
1.Change its owner to the NGINX user and group

2.Create a virtual host for it by creating a conf file in /etc/nginx/phpmyadmin.conf
server {
        listen   80;

        root /usr/share/nginx/html/phpmyadmin;
        index index.php index.html index.htm;
        server_name  phpmyadmin.vmehrabi.com ;
#autoindex on;
        location / {
                try_files $uri $uri/ /index.html;
        }

        error_page 404 /404.html;
        error_page 500 502 503 504 /50x.html;
        location = /50x.html {
              root /usr/share/nginx/www;
        }

        location ~ .php$ {
                try_files $uri =404;
                fastcgi_pass 127.0.0.1:9000;
                fastcgi_index index.php;
                fastcgi_param SCRIPT_FILENAME $document_root$fastcgi_script_name;
                include fastcgi_params;
        }
}
~
~
~
3.If you have MySQL 5.1 download phpmyadmin version 4.0 and if you have later versions you can download version 4.1 and later from link below
https://www.phpmyadmin.net/downloads
wget https://files.phpmyadmin.net/phpMyAdmin/4.0.0/phpMyAdmin-4.0.0-all-languages.zip
4. Unzip the file
unzip phpMyAdmin-4.0.0-all-languages.zip
5.Go to the unzipped folder and issue the following command to copy sample configuration file in order to start the phpmyadmin
cp config.sample.inc.php config.inc.php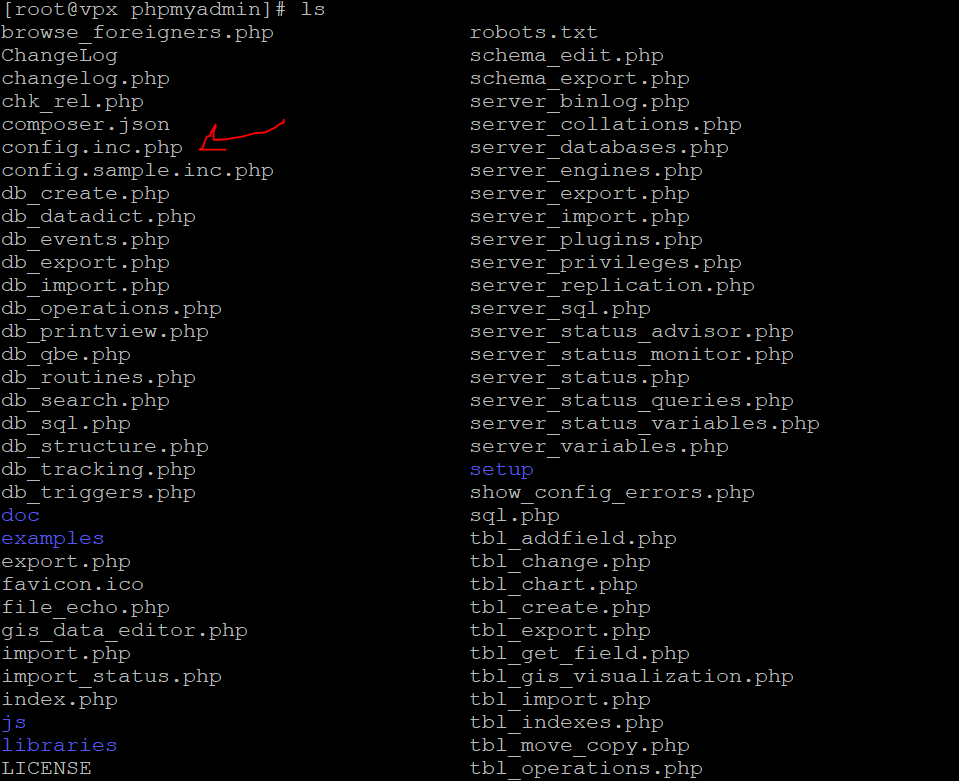
6. Assign full permission to the /var/lib/php/session/ directory
sudo chmod 777 /var/lib/php/session/Now just restart nginx service
service nginx restart